IDEAS
-
5 DecRead more »

It’s the season of giving, and this Christmas, we’re giving you the chance to win big during our Great Christmas Sale! To spread the holiday cheer, we have three exciting competitions running – with R300 000 in prizes up for grabs! We’ll tell you all about it in this article, and you might just be one of our lucky winners.
-
10 NovRead more »

Black Friday is around the corner, so let's get prepared! We've got the insider's guide to making the most of this year's biggest shopping event at OK Furniture.
-
23 SepRead more »

Ways to celebrate Heritage this month
From blasting local music to sharing hearty meals, Heritage Day is all about honouring the traditions that bring us together. If you’re looking for ways to celebrate this September, we’ve got you covered with a range of fun activities for everyone! Explore our latest article and start planning your public holiday now -
12 AugRead more »
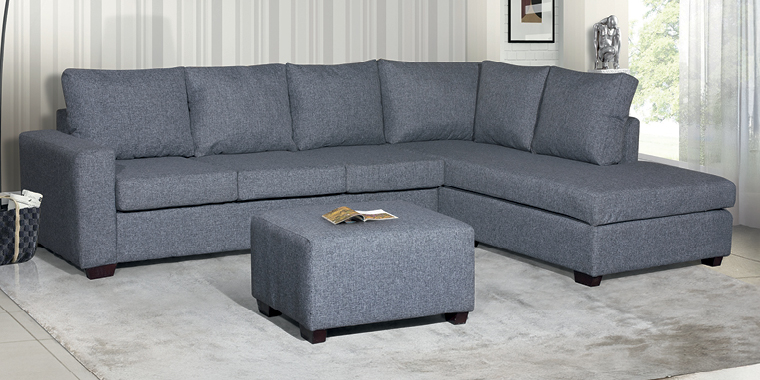
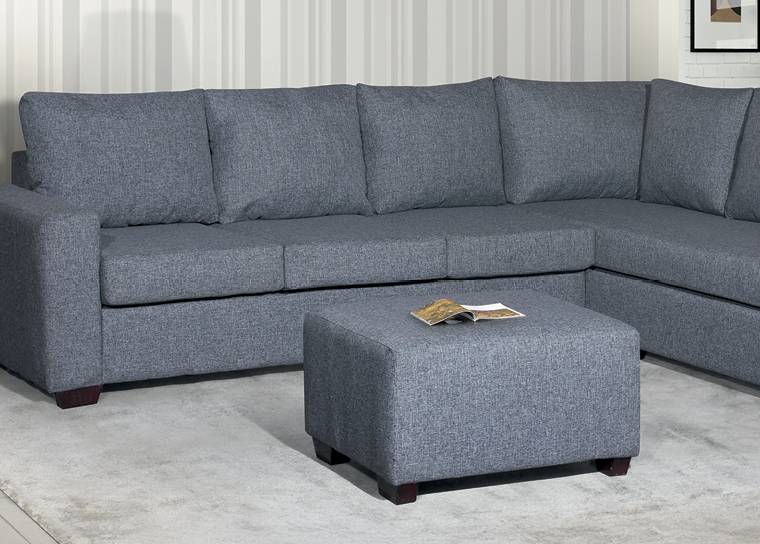
Make the Most of Your Space with Corner Lounge Suites
From cosy rural homes to urban apartments, space is a luxury most of us can’t spare. As more South Africans embrace open-plan layouts and smaller spaces, there’s a growing demand for furniture that’s functional, comfortable and doesn’t crowd the room. Corner lounge suites have become a go-to for many modern homes – designed to make the most of every square metre. If you’re struggling with space, these suites might be the smart solution you’re looking for. -
31 JulRead more »

Celebrate Yourself This Women’s Month!
Women’s Month is a time to celebrate all the contributions women make to our lives – at home, at work and within our communities. As a woman, this means celebrating yourself as well, and all the wonderful ways you show up each day. So this month, we’re turning the focus back on you and how you can fill your own cup, whether that’s making your daily routine easier or investing in better rest. -
8 JulRead more »
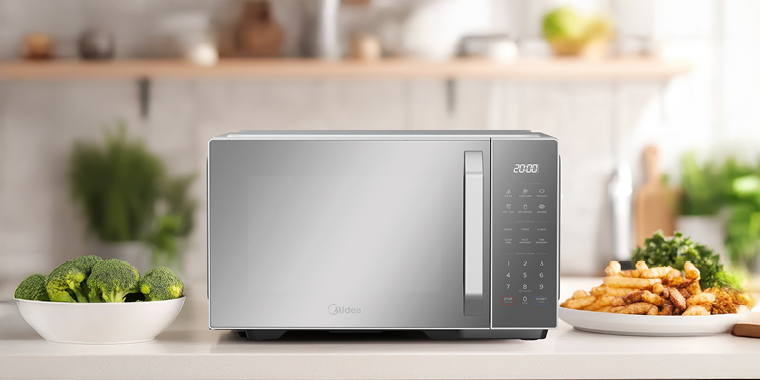
How Midea Makes an Impact with Trailblazing Innovation
Midea has made a name for itself as a top global brand, with one of the world’s most comprehensive ranges of home appliances. From air conditioning to quality kitchen appliances, they seem to do it all – but what truly sets them apart is doing it well. -
6 JunRead more »

Top Father’s Day Gift Ideas To Make Dad’s Life Easier and More Joyful
Every day’s a chance to celebrate the ones we love, but Father’s Day is a great opportunity to show Dad some extra appreciation. Everyone knows it’s the thought that counts; that’s why there’s something special about getting a gift that’s just right. Figuring it out can be tricky, but the perfect pick is out there for every dad – whether he’s into practical presents or something to fuel his favourite hobby. -
6 MayRead more »

CELEBRATE MOM WITH THOUGHTFUL LIVING ROOM TOUCHES & SPECIAL GIFT
This Mother’s Day, go beyond the usual gestures and create something truly heartfelt for the woman who’s given you everything. It's not just about gifts – it's about showing Mom just how much she means to you. One meaningful way to do that? By transforming her living room into a warm, welcoming space that celebrates her presence and love. -
14 AprRead more »

MEALS MADE EASY WITH AN AIR FRYER THIS EASTER
Easter is all about good food and quality time with family – not spending hours stuck in the kitchen. With an air fryer, you can whip up hearty meals in no time, giving you more moments to enjoy with the ones you love. It’s the ultimate kitchen buddy this Easter – quick, healthy, and super convenient. -
3 AprRead more »

Discover the Genius of Smart TVs
Ready to elevate your home entertainment? Let’s explore why Smart TVs are a modern must-have! With seamless streaming, stunning picture quality, and endless entertainment options, they’ll take your viewing experience to the next level. Keep reading to discover the magic behind these innovative TVs
-
Win Big With Our Great Christmas Competitions!
 December 5, 2025
 -
BLACK FRIDAY 2025: EXCLUSIVE SNEAK PEAK, EASY CREDIT & SURVIVAL GUIDE
 November 10, 2025
 -
Fun Things to Do for Heritage Day 2025
 September 23, 2025
 -
Make the Most of Your Space with Corner Lounge Suites
 August 12, 2025
 -
Celebrate Yourself This Women’s Month!
 July 31, 2025